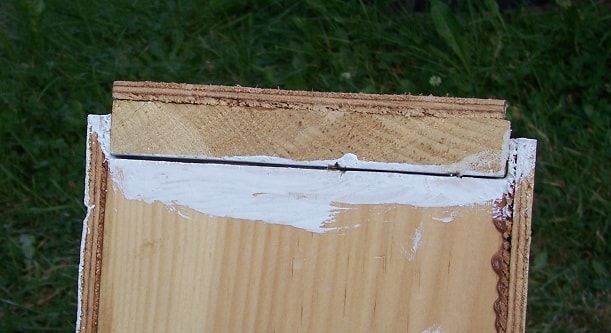
01-July-2016 Shaping, sanding, and filling screw holes with bondo. 1 1/2" screws called for in the plans are too long. Ended up drilling the counter sink holes deeper and puttin in 1 inch screws. In hindsite I should have used 1 1/4 inch scres for the keel. I beleive the same thing came up with the last boat.
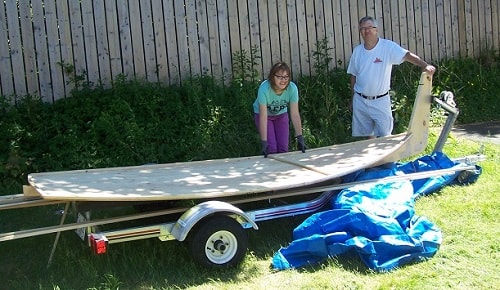
04-July-2016 It has been a long hard day. We lofted the top panel but we still haven't received the new 3/8 inch panel we need to complete the construction. We decided to attach the bottom of the boat to the keel. We just couldn't get it to line up. At one point we had to rip the keel from the bottum to reinstall. It is still a inch out of allignment. This may cost us later in the performance of the completed boat.
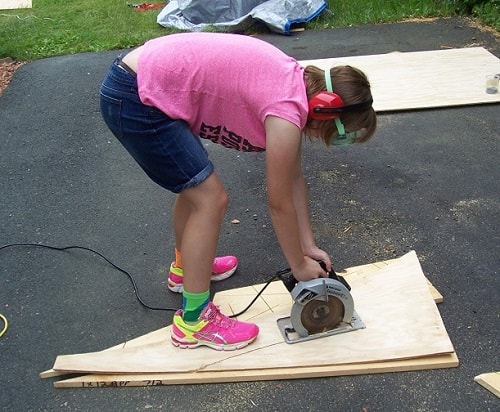
05-July-2016 Jeanette put the stringers on the forward bulkhead. I filled in the screw holes caused with the installation of the keel to the boat bottum. For screw holes that went all of the way through the plywood and missed the keel I went under the boat and removed visable screws poking through. I then put a piece of duct tape over the holes on the underside of the panel. I then allied bondo auto filler to the top side of the panel filling all of the screw holes as well as the holes going all the way through. The duct tape prevents the bondo from ozing out on the under side of the board. Jeanette assembled the forward bulkhead using the drill, and jigsaw herself. I am hoping she is learning a lot from our little project. We still don't have the plywood for the top deck so we had to quit early. The next part of construction is to put the bulkheads on the top deck which we have not constructed yet. I told Jeanette she gets to try out the Circular saw when we do the forward top deck piece. She can cut it out.
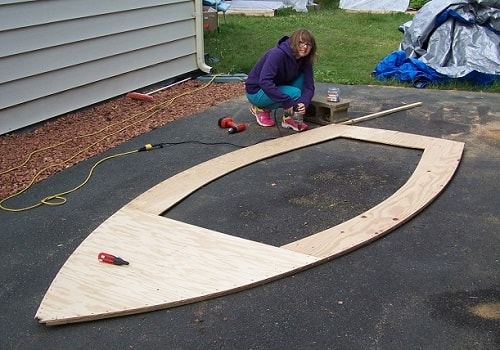
07-July-2016 We have finally cut out the top deck and put on the stringers. It rained the last day and a half which slowed us down considerably. It's all ready and we will begin mounting the bulkhead to the top deck tomorrow if possable.
08-July2016 Had lots of problems today. We got the bulkheads attached to the top deck assembly and the assembly attached to the bottum deck. I tried to attach the transom in the back and ran into major problems. It would not bend into place. I ended up scrappin the transom and replacing it with one made up of 1/4 instead of 3/8 plywood. after fitting it I found I had misunderstood the instructions and the back of the boat will be flat instead of having a curve like it is supposed to. Oh well. I am finding the instructions vauge with important points spread out throughout the plans. As I told my father in law. At the end of all this all I really need is a water tight box. Everything else is gravy.
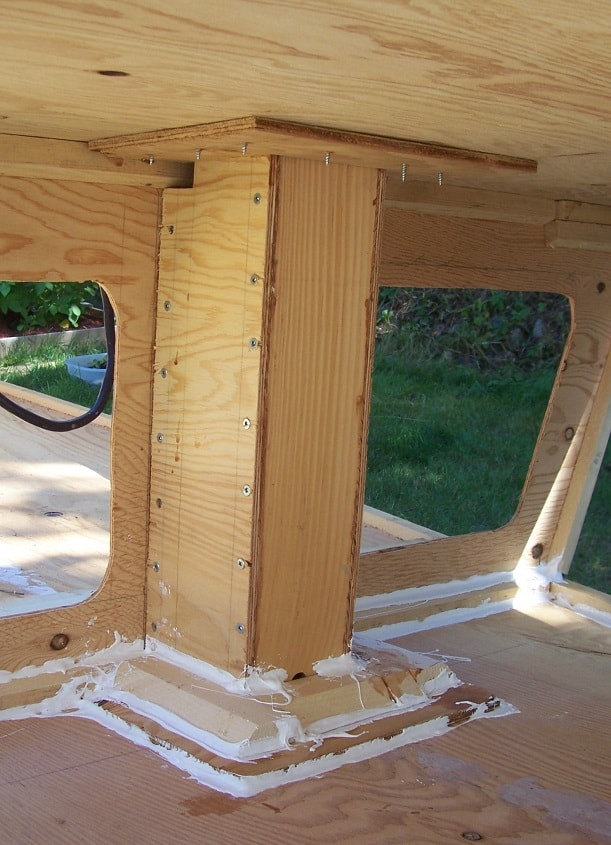
01-Aug-2016 Haven't Gotten much work done lately. Rain, Trip to central Newfoundland, etc. We got out and assembled and installed the mast box. Once again the screw called for in the plans were too long. had to add extra wood to cover up the screws sticking out from the bottum. I also drilled a drainage hole in the box to prevent water from collecting and causing rot.

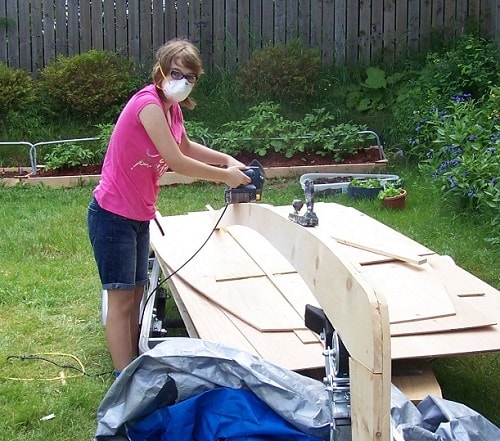
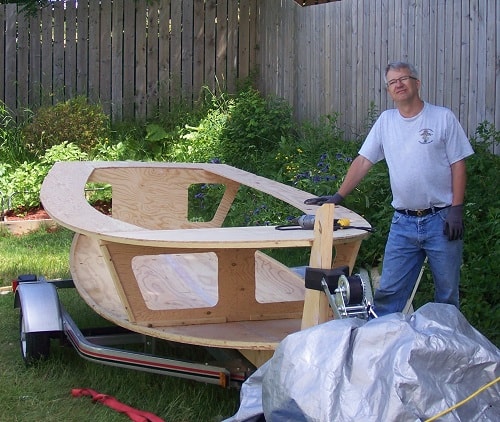
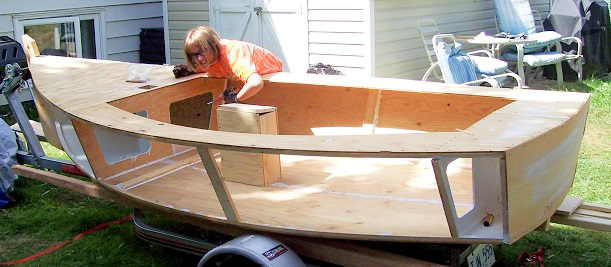
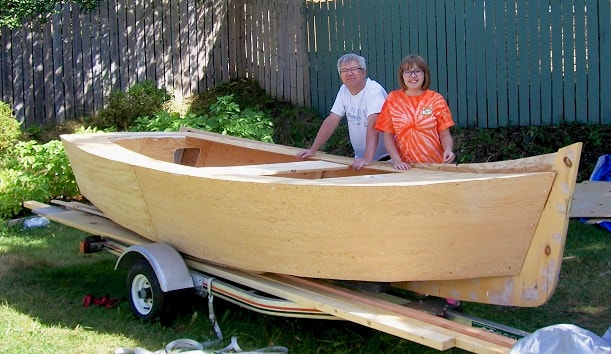
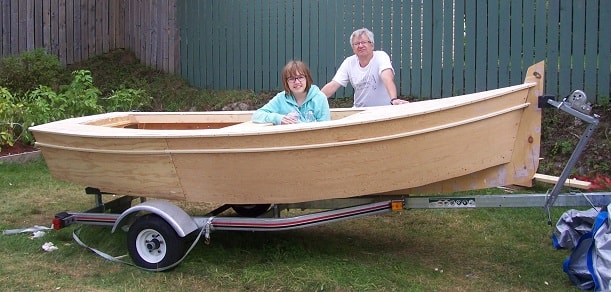
8-Aug-2016 I've finshed caulking the areas of the boat where I could without interfering with anything else still needing to be installed such as the rowing seat or daggerboard box. When I built the first two boxes I had a great deal of trouble painting them properley once the hull sides were installed and the were sealed closed. Because of this I am painted the inside top and bottom panels of the aft and forward storage areas before installing the sides. I'll still have to paint the interior side panels once they are installed, but I'm hoping I can do a better job this way. I've finished the primer on the insides of the stoage compartments, and hopefully will do the first coat of paint tomorrow. If you look closely at the picture of me and the boat above you will note that the boat is warped. The aft part is leaning to the right of the forward part. This is caused by warpage of the bottum deck. I am fixing this by using weight on one side of the panels and a paint can on the other to cause the hull to warp the other way. Oh yes. I've also rough cut out the mast. Lots of sanding and plaining left on that one.
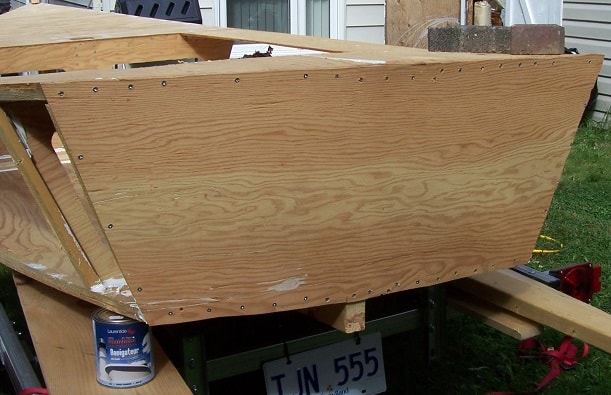
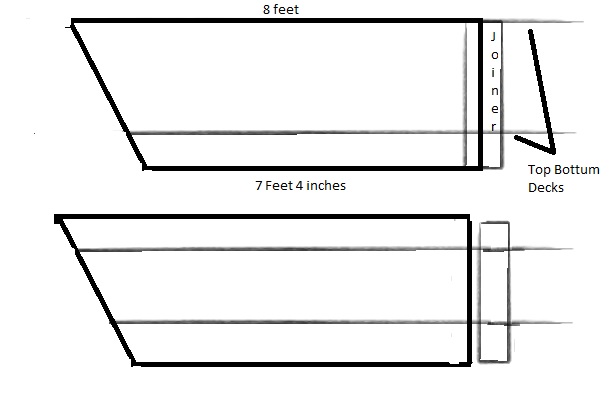
14-Aug-16 Jeanette, myself and Charlotte have installed the starboard side of the boat. We once again have run into problems with the plans. The boat is 12 feet long. A piece of plywood is 8 feet long. Because of this the side of the boat is made up of two sheets of plywood with a jointer attaching them together. According to the plans you have to angle edge of the plywood to match the angle of the front part of the keel. They also state that you install the joiner 8 feet from the front of the boat. This will only work if you can fit the angle of the cut on the front sheet of plywood perfectly with the angle of the boat, and line the top edge of the plywood perfectly along the top deck. That type of precision while bending a sheet of plywood around a 3 dimensional shape was not something we could do. We ended up leaving excess plywood over the top deck and under the bottum deck basically centering the plywood and cutting off everthing excess. We had to move the joiner a inch and a half closed to the bow to counter the shortening of the plywood as we slid it forward.
15-Aug-2016 Started installing a drainage hole in back of boat. Put 3 small holes in the aft bulkhead so that water can reach the drainage hole in back of boat. Jeanette sealed the bulkhead we installed yesterday while I built the daggerboard box. Once done I used Jeanettes sealer to do the box. Ran out of wood and had to go to the store to get a piece of pine to do up the rowing seat. Tomorrow we will paint and start installing the port side.
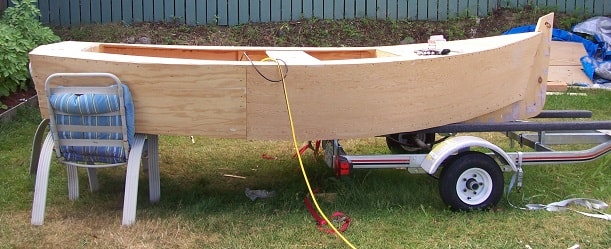
20-Aug-2016 Rain, Rain, Go Away. Well we've been held up by it either raining or threatening to rain. The daggerboard box is mostly enclosed so it has to be painted inside before installation. I won't be able to do much in the way of maintenance once it is installed. I've got a coat of primer in the interior of the box and the insides of the mast box. Bought a 2 inch roller at the hardware store and taped a long stick to it to reach the bottum of the mast box. Myseelf and Jeanette have installed the rowing seat and the port side of the hull. Still need to trim the excess plywood, but I should wait for the glue to dry.
29-Aug-2016 Since the last entry we've done some building between rain showers. I just haven't been keeping this site up to date. As Jeanette has been saying lately. Sorry, I'm Bad. Well here goes. We've trimmed down the top side to line up with the deck. We have also installed the daggerboard box. We had to slide the boat half off the trailer and rest the end on two chairs so I could put in the screws into the box through the bottum of the hull.
As for the box when I originally put it under the rowing seat there was a 1/4 inch gap between the dagger board box and the seat. I felt that the seat would break the first time anyone sat on it since the box was supposed to support the rowers weight. I put a 1/4 inch piece of plywood cut the same as the top of the box on top of the daggerboard box before installing it.
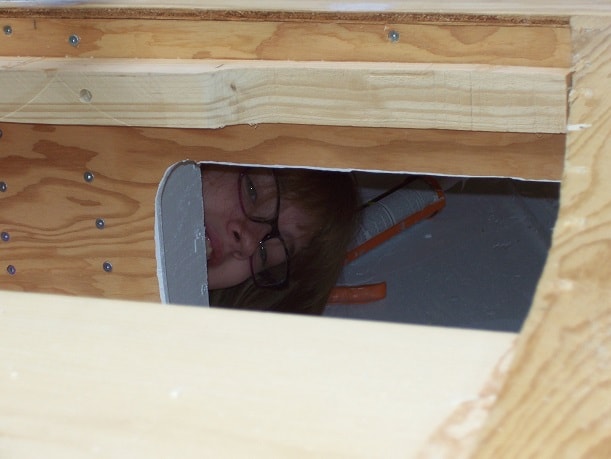
We also installed the top rubrail. We fininshed putting sealant inside the storage areas and cockpit area. I couldn't fit in the forward storage area so Jeanette had to climb halfway through one of the doorways and put the sealant on. It was a very tight fit.
02-Sept-2016 Well we've installed the rubrails and I've filled all the screwholes in the top deck.
After this picture was taken we flipped her over to work on the bottum. The extra plywood needs to be tripped and sanded. Then all of the screw holes need to be filled with bondo along with any imperfections (also called mistakes) caused during construction. I've already used a quart and a half of bondo. We just came from Canadian Tire where I bought a Gallon of the stuff. It is quite chilly here today. We need to get the boat painted for the winter and I think we are runnin short on time.
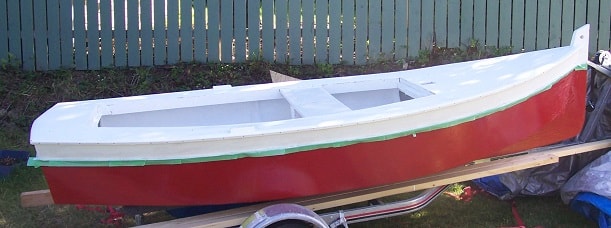
7-Sept-2016 We have the boat turned over. Had to use a jig saw to precisley cut off the plywood sides to line up with the bottum. Then we used a belt sander to level and smooth so the sides were perfectly lined up with the bottum. Then lots of bondo. Every screw hole and gap had to be filled in, allowed to mostly harden, then scrapped smoothe with a sureform shaper. Then the whole thing had to be sanded smooth. After the we put painted the bottum half of the boat with marine paint. One coat of white primer, one coat of white paint, then two coats of crimson red paint. We could turn her right side up tomorrow but we are expecting the next two days to be rain, thunder and lightning. Not good for the typical boatbuilder.
12-Sept-16 Spent the day painting. I have most of the the inside done, but I still have a few spots under the deck and under the rowing seat not done. I painted myself in a corner in reverse. Instead of not being able to get out of the boat because of wet paint I can't get in it to do these spots till the pain drys.
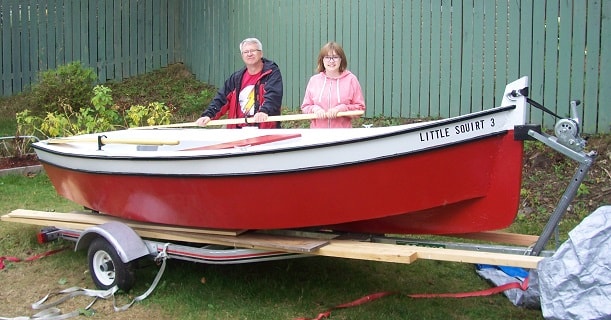
21-Sept-16 Well it's been a long summer and a lot of hard work but, Done, Done, Done, Done. The boat is finished. Still have to build the sailing rig but the boat itself is complete. Yay.