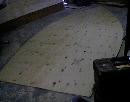
03-MARCH-03 Needed more space in my basement to loft the bottom panels. Threw all the firewood outside. I was not going to burn it anyway because of allergies. Put down boards to keep the panels off the floor and used a piece of plywood to join them together rough side up. Next I will need to loft them.
04-MARCH-03 Started Lofting. Only got a little bit done. Wanted to spend time with Original Squirt before she was put to bed. She is now 19 months old.
8-March-03 Cut out the Bottum for Little Squirt Too. Cut out panels round side up using 17 degree angle on blade. Be carefull which way you hold the saw. Cut the wrong direction and the angle will be the wrong way.
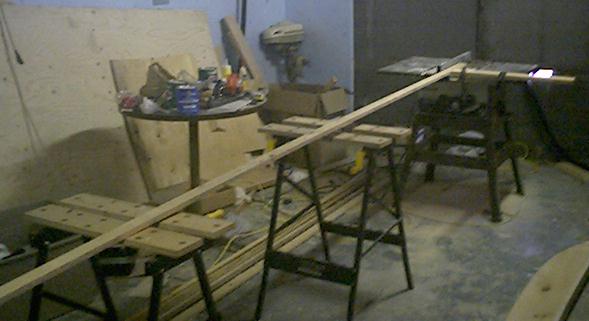
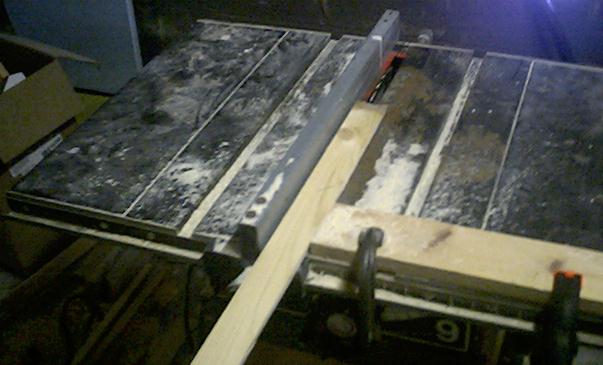
06-Sept-2003 Here's the setup I used to cut the stringers. There are are set of doors that open in front of the saw. I just slowly guide the boards through.
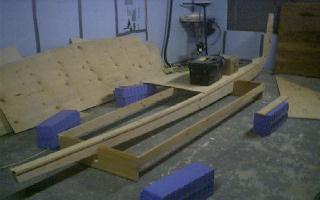
21-Sept-2003 Built a stand to support the bottum. One of the forward boards for the bottum is bending the wrong way. I'am afraid I'll break the forward notch if I force it. Have laid it in place on the keel and put weight on it to encourage it to bend the other way.
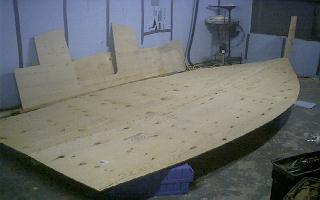
Thursday 25-Sept-2003 Glued and screwed the front bottum panels down yesterday. I was extremely careful to keep them centered, but they came out off anyway. Today I used a couple of finishing nails in the center line of the keel when I installed the back panels. I hoped it would help to keep the panels from going over the center line while I installed them. It worked like a charm. The two panels went on perfectly, and the nails were so small I did not even have to remove them. I have a gap between the front and rear bottum panels because of the problem with the front panels. I've read from other boat builders that bondo is a boat builders greatest friend. Here's another gap for my friend to fill in.
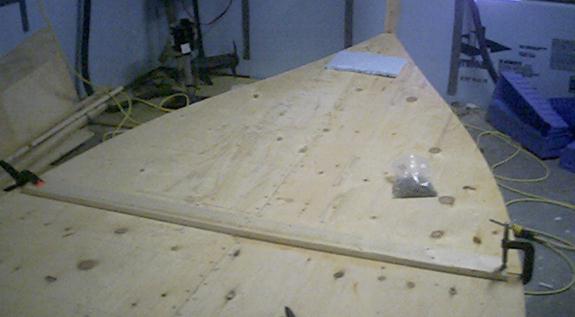
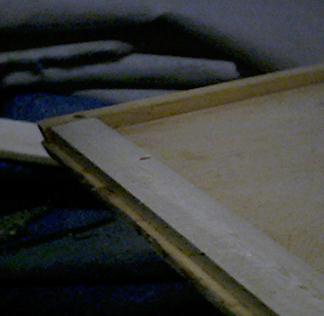
05-Oct-2003 Sunday Have finished installing the Bottum Panel Joiner. I cut it 1 1/2 inches short of the edge of the bottum board on each side. I also cut the ends at the same curve as the bottum boards. I deliberately cut them short enough to leave a opening between the Bottum Panel Joiner and the stringers. This was recommended in a book by Jim Michalak (Boatbuilding for Beginners and Beyond). It prevents water from accumulating in this spot and causing rot. I drilled four 2 inch screws down though the center of the board, through the cap board and into the keel. The rest of the screws I drilled upwards through the bottum of the hull and into the joiner. I used 3/4 inch screws instead of the 1 inch screws in the plans. I felt that the one inch screws would stick up through the joiner. A little over half way though the job the drill bit I use for countersinking the screw broke. I did not have a spare. I drilled in the rest of the screw the best I could. I'll probably have to remove them and redo them once I replace the drill bit. When doing this job need two drills. One for drilling the counter sink holes and another for putting in the screws. I also had to put the stand for my boat on plastic boxes to give me enough room to craul under the boat to do the job.

12-Oct-2003 Sunday. Well I finally got the stringers attached. I got two power drills. I used one to drill the holes and the other to put in the screws. First I fixed the screws in the Panel Joiner that did not go in properly because of my broken drill bit. Then I marked the holes in the bottum and countersunk the holes first. This was a mistake. When I tried to put the screws in they stripped when I reached the stringer. It was worth a try but the best way is one screw at a time. Position the stringer. Drill the hole, and then put in the screw. By the time you finish a bottum panel stringer the hand holding it in postion will be tired and sore, but it is the best way. Some of the screws missed the stringe. I put clamps there till the glue dries. I will remove the really messed up screws after the glue dries. The 3/4 inch screws instead of the 1 inch screws in the plans seems to have worked out. Sone of them are sticking through and they seen to be holding fine.
03-JAN-2004 Had a problem with the angle of the gusset that the transom attaches to. Someone suggested that 17 deg would work. This is the same angle as the stringers. I cut a extra wide stringer with this angle, and then I dry assembled the port top deck and decided that 17 deg would be fine. I then mounted it leaving a 3/8 inch ledge for the transom to rest on.