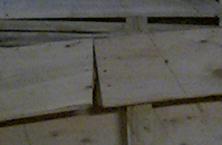
21-March-03 Received sheet of plywood for forward top deck
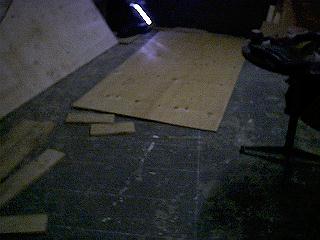
22-March-03 Started by drawing the Center Line and the Station Lines on the plywood sheet for the foward deck. I drew all the rest of the lines with chalk on the concrete floor including the referance points.
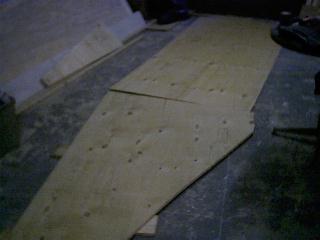
I then took the sheet of plywood from the cutting of the forward bottum of the boat and layed it over the chalk marks. The plywood had to cover all the reference points I had made out with the caulk. The edge of this sheet will overlap the one that I had already lofted so can cut it too make it square with the old piece.
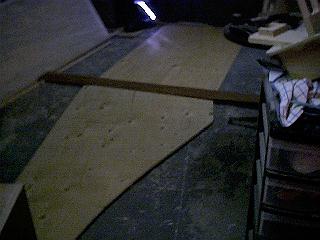
23-March-03 Cut out new edge for bottum piece.
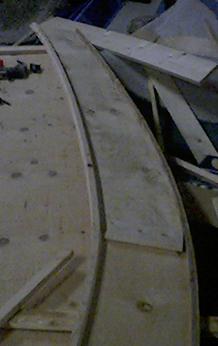
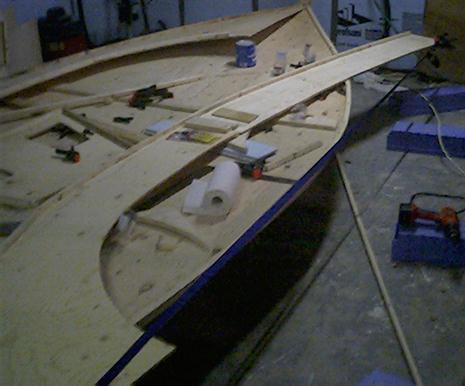
06-Feb-04 Took a friday off from work to work on Little Squirt Too. Put the stringers on the top deck. It was a lot of work. I beleive that if I had my time back I would not have used different thicknesses of plywood for the front and rear of the top deck. The amount of trouble is just not worth the cost of using one less sheet of plywood. When I was putting the stringers on I had to be carefull not to put them in the area of the deck which was going to rest on the stem. I clamped a small piece of wood there to prevent me from accidently gluing stringer there. I forgot to make allowance for the stringers by leaving a gap at the aft end for the stringer on the transom. I had to cut a little off after the glue had dried a little.The joiner for the port deck cracked from the strain of having only one stringer. I'll have too repair it somehow.
Sunday 07-March-04 Finished putting the stringers on the Starboard side (Right) of the top deck. The things to remember for this part of construction I found was to ensure that you have a notchs either in the stringers in the transom or the top deck where the top deck attaches to the transom. I also had to leave a notch in the forward stringer at the bow where the top deck attaches to the stem. I did not quite follow the plans at the curves front where the cabin wall attaches. If I had followed the plans the stringer for the port and starboard stringers would have joined at the same spot where the port and startboard panels joined. I left a empty spot there and will put in a single piece which will increase the strenght in that area by having the joints further in on both panels.
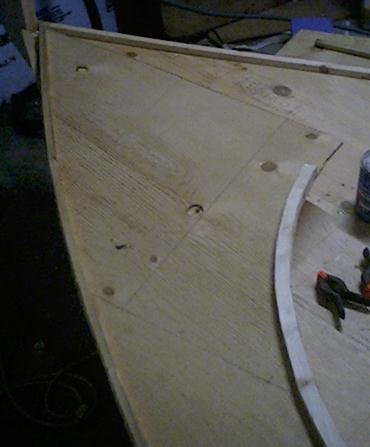
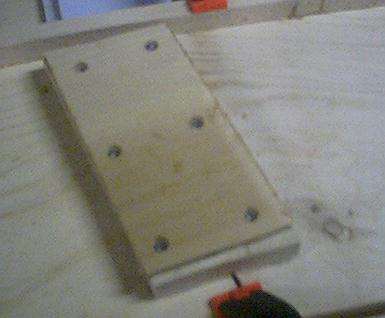
Saturday 13March04 - Today I repaired the broken top panel. The plan was to put epoxy in the gap and then apply pressure to pull the panels together and close it. Then I would epoxy and screw a thin piece of plywood to the top to increase the strength at this joint.
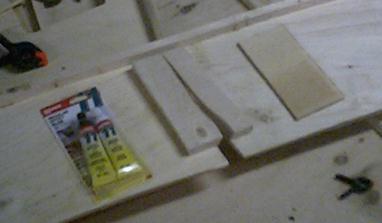
I used one of the straps I tie down my 3-in-1 to the trailer with. I will crank it a little to provide tension and close the gap.
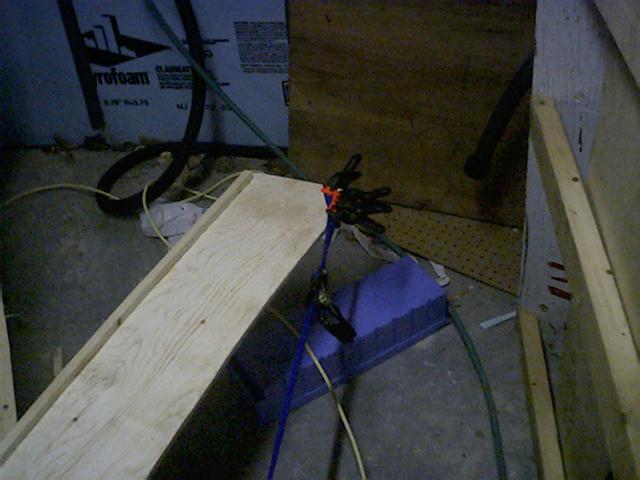
And here's the final result. Hopefully the patch will be strong enough to do the job.